![509383c8-8b3f-40e4-a2c1-c7c325b16164-3.webp]](https://myfliip-21229458.hs-sites.com/hs-fs/hubfs/509383c8-8b3f-40e4-a2c1-c7c325b16164-3.webp?height=50&name=509383c8-8b3f-40e4-a2c1-c7c325b16164-3.webp)
Course management
First of all, you must create your rooms according to the different classes offered
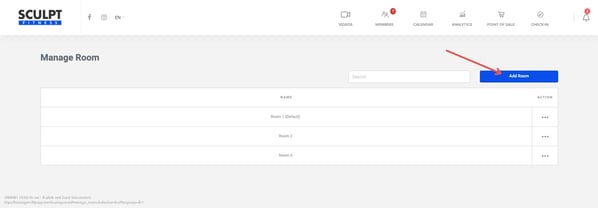
1 - The rooms
Menu -> Classes -> List of rooms -> Addition
This option allows you to create the room in which your class will take place. If you have just 1 class, only make 1 room with the name of this class. If you have 2 classes in the same room, create only 1 room.

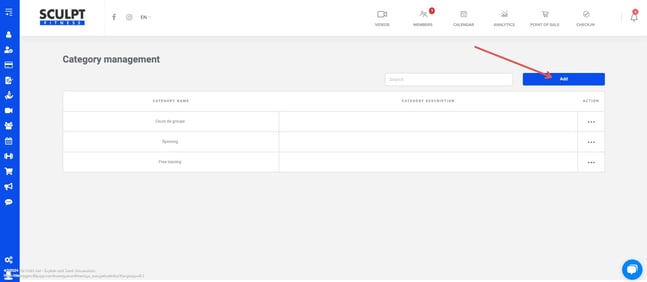
2 - The categories
Menu -> Course -> List of categories -> Addition
This option is important when you have several categories of courses, if you have only one course, make only 1 category with the name of this one. Example: If you have classes like "Hot Yoga" & "Yoga for Stretching", these would fall under the same category (Yoga).

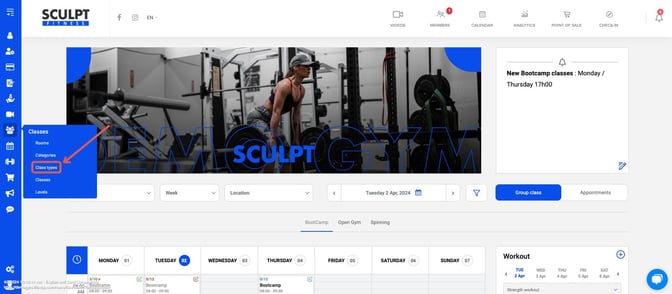
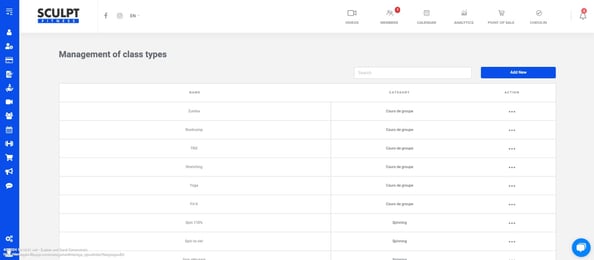
3 - The type of class (Open gym, Kid's Cross Fit, Hot Yoga, etc.)
Menu -> Course -> List of types -> Addition
This option allows you to have several types of lessons. You must have done step 1 and 2 before creating your course type.
4 - Addition of the new course
Menu -> List of courses -> Addition
When step 1,2,3 are completed, you can add your new course with the colour, time and in the room you want.

To offer courses of the advanced, intermediate or beginner type
Menu -> Classes-> List of levels -> Add level
It works as follows: Members of higher levels have access to the course at lower levels, but not the other way around.

How to modify a course
On the calendar - Click the small pencil to the right of the course

You can completely cancel the course for the day each registered member will receive an email to notify them that the course is canceled

What does Special Event mean?
By modifying or creating a special event course, you will offer a course for free to your members who register for it.

What do Allow recurring registrations mean?
Members who have configured this option will be able to be automatically enrolled in courses, where this option is available.
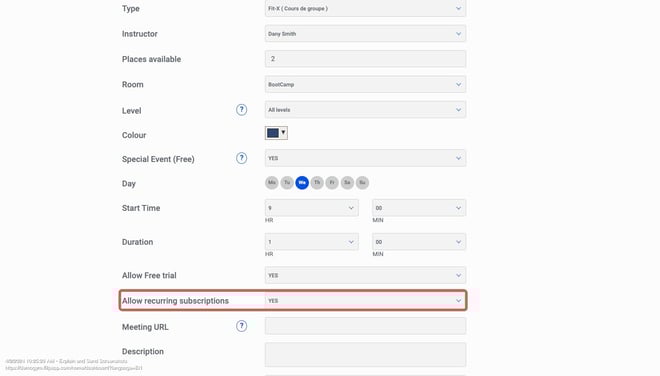
Members can see this tab in their interface.
Possibility of establishing a registration limit per type of course
1. On the interface calendar, click on the small pencil to modify one of the chosen courses.
2. Next, enter the number of places available for this course. Go to update at the bottom of the page, you can do it for one lesson only or all the lessons for that hour.

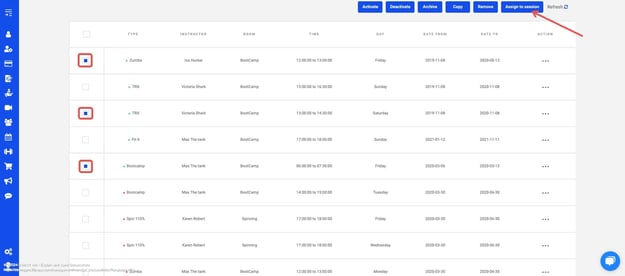
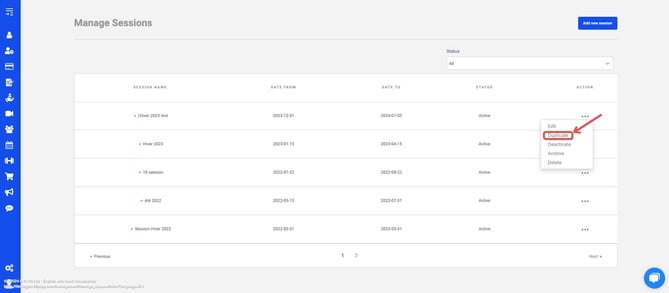
Manage your courses by session
You can now create lesson sessions. This will facilitate the change of schedule (Christmas schedule, winter schedule, etc.)
Here is the procedure to follow:
1. Create your session with a start and end date
2. Select the different courses you want to assign to this session
3. Confirm the assignment to the desired session. * Please note, by assigning courses to the session, they will automatically take the effective dates of the chosen session * For example, if your fall session dates are from September 1 to December 22, all courses assigned to this session will now have these effective dates.

Support is the author of this solution article.
